오늘은 안드로이드 스튜디오 글꼴, 폰트 변경하기를 해보겠습니다. 안드로이드 스튜디오 자체의 글꼴이 아니라, 제가 만들고자 하는 어플의 글꼴, 폰트를 말이죠. 제가 원하는 글꼴을 만들고 싶을 때, 이런 식으로 하시면 될 것 같습니다.
먼저 왼족 res에서 new로 들어가셔서, 디렉터리를 누르시고, font라고 새로운 디렉터리를 만들어주세요.
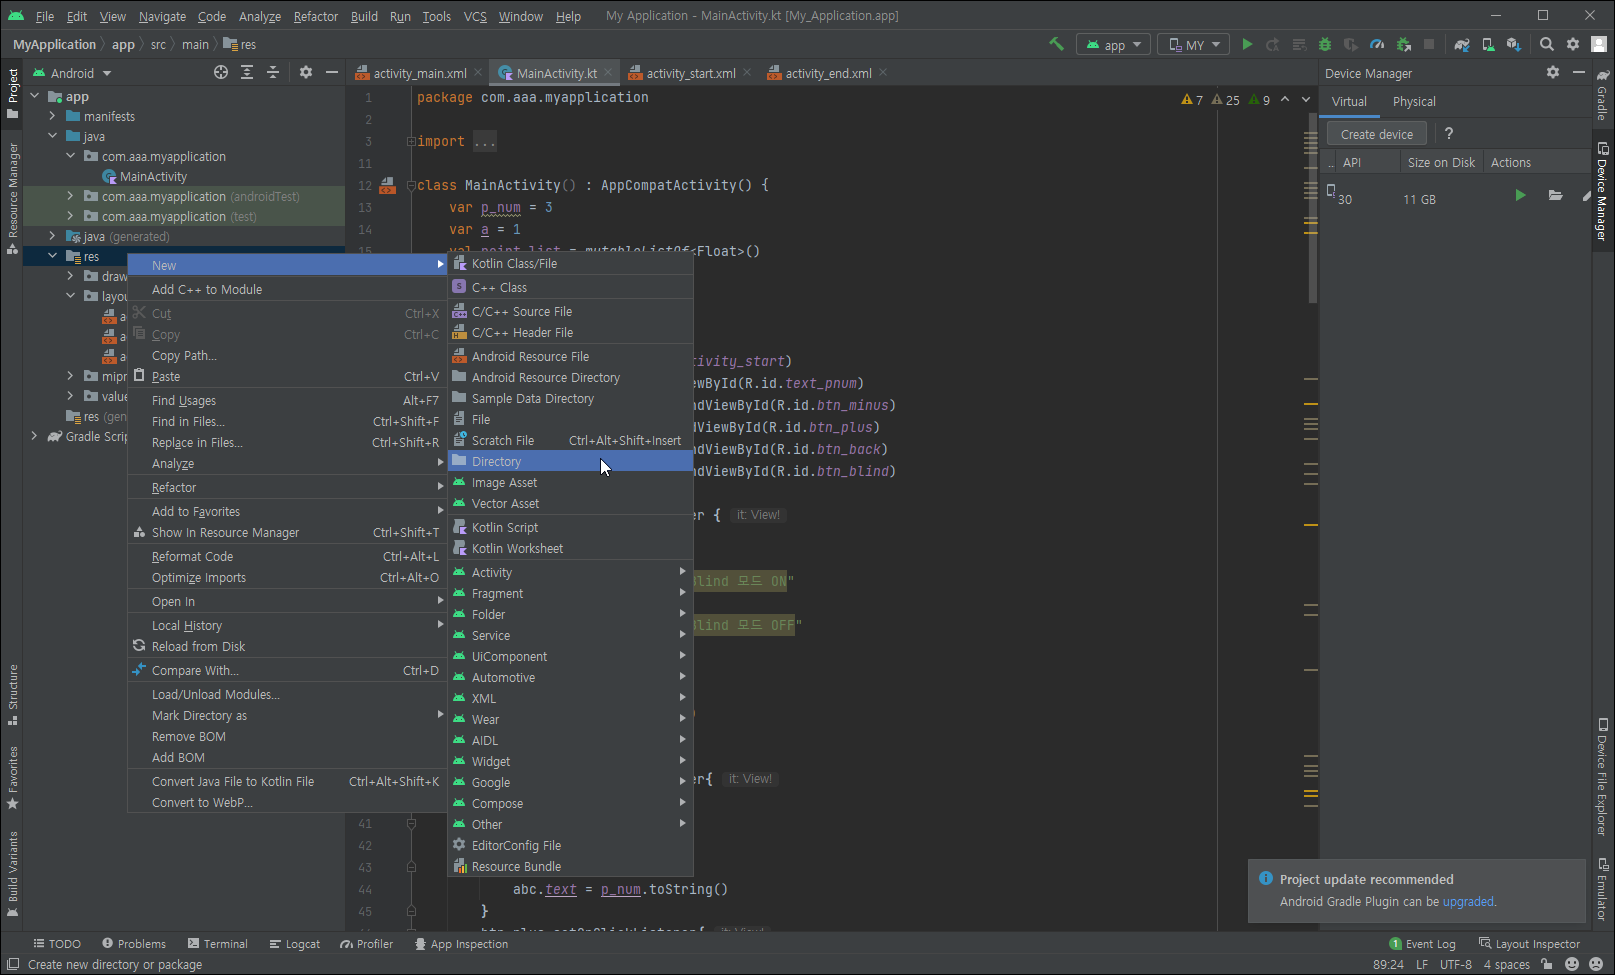
사진처럼 하시면 되겠습니다.

다음으로는 이 폰트에 제가 원하는 폰트를 다운을 받아주세요. 기존에 있던 것도 상관없습니다.
컴퓨터 찾기에서 font를 검색하시면, 보다 폰트의 위치를 찾으실 수도 있습니다.
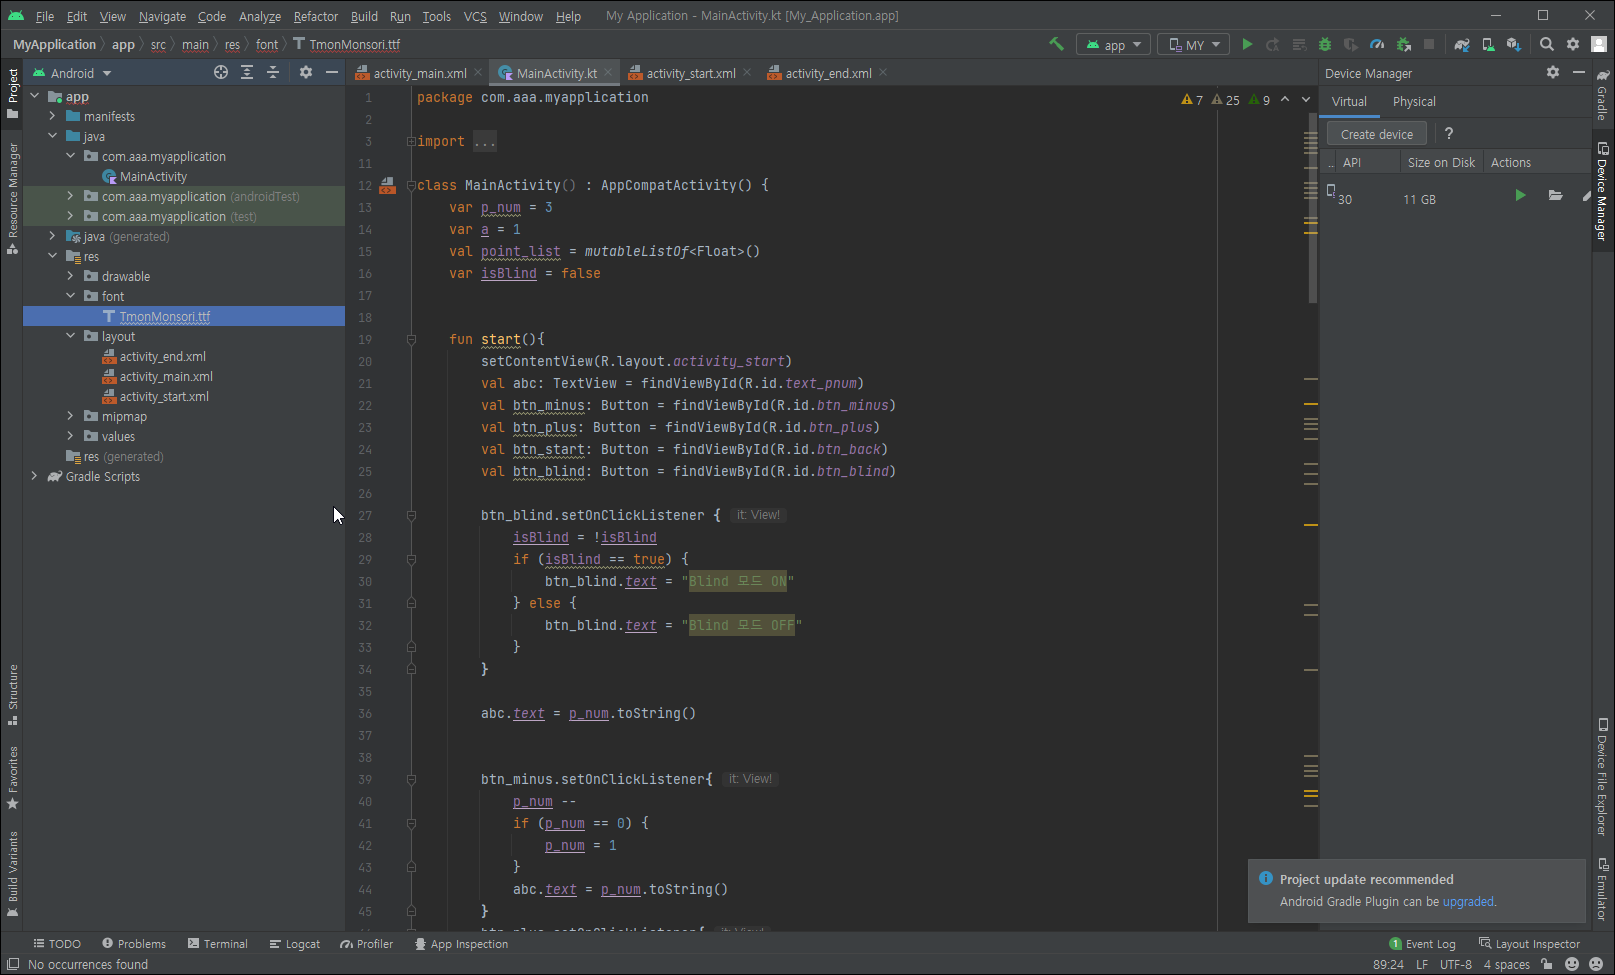
그럼 이 폰트를 ctrl c를 눌러서 복사하고, font 폴더에서 ctrl v로 복사 붙여 넣기를 해주세요.
- 이때 주의사항으로는 소문자라는 것, 그리고 뒤에 ttf가 붙어야 합니다.


폰트 리소스를 또 만들어야 합니다.
사진처럼 폰트 리소스를 만들어주시면 됩니다.
이름은 티몬에서 font_new / font_res로 변경하였습니다.

리소스를 설치하면, fontfamily가 나옵니다.
이쪽에 커스텀으로 이런 식으로 만들겠습니다.
복사 붙여 넣기를 하시면 되겠습니다.
font : 하고자 하는 글꼴의 리소스 위치
fontStyle : 하고자하는 글꼴의 스타일
fontWeight : 하고자하는 글꼴의 굵기
<?xml version="1.0" encoding="utf-8"?>
    <font-family
        xmlns:android="http://schemas.android.com/apk/res/android"
        xmlns:app="http://schemas.android.com/apk/res-auto">

        <!--regular-->
        <font
            android:font="@font/font_new"
            android:fontStyle="normal"
            android:fontWeight="400"
            app:font="@font/font_new"
            app:fontStyle="normal"
            app:fontWeight="500" />

</font-family>
만약 굵기 하는 채까지 넣고 싶다면, 이런 식으로 넣으시면 됩니다.
<?xml version="1.0" encoding="utf-8"?>
    <font-family
        xmlns:android="http://schemas.android.com/apk/res/android"
        xmlns:app="http://schemas.android.com/apk/res-auto">

        <!--regular-->
        <font
            android:font="@font/nanumbarunpenregular"
            android:fontStyle="normal"
            android:fontWeight="400"
            app:font="@font/nanumbarunpenregular"
            app:fontStyle="normal"
            app:fontWeight="500" />

        <!--bold-->
        <font
            android:font="@font/nanumbarunpenbold"
            android:fontStyle="normal"
            android:fontWeight="700"
            app:font="@font/nanumbarunpenbold"
            app:fontStyle="normal"
            app:fontWeight="1000" />

</font-family>
@font/~~~라고 써져있는 부분에, 제가 넣고자 하는 폰트를 넣으시면 됩니다.
values > themes > themes.xml 이곳에다가, 아래 스타일을 붙여 넣어줍니다.
구글에서 찾아봤을 때는, 아주 오래전꺼라던 가, 잘못된 정보가 많네요.
이곳에서 해주시면 되겠습니다.
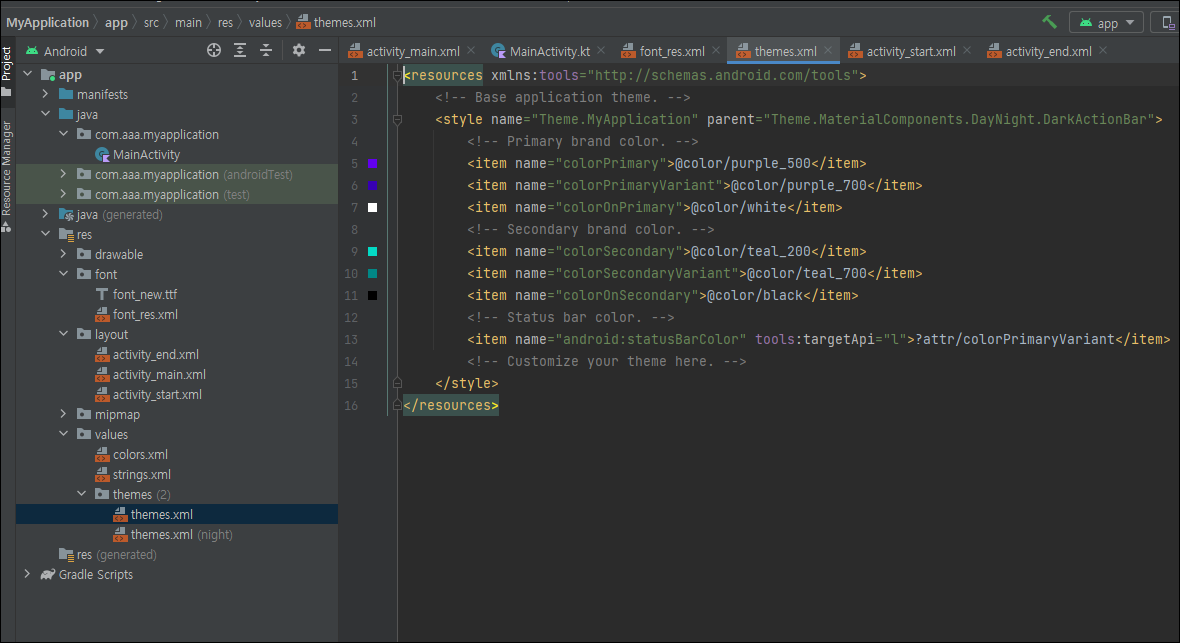
<!-- Custom font 적용 -->
<style name="customTextViewFontStyle" parent="@android:style/Widget.DeviceDefault.TextView">
    <item name="android:fontFamily">@font/font_res</item>
</style>

<style name="customButtonFontStyle" parent="@android:style/Widget.DeviceDefault.Button.Borderless">
    <item name="android:fontFamily">@font/font_res</item>
</style>
이것을 넣어주시면 됩니다.
또 스타 일위에
<!--custom font-family 적용-->
<item name="android:textViewStyle">@style/customTextViewFontStyle</item>
<item name="android:buttonStyle">@style/customButtonFontStyle</item>
정리해보겠습니다. 풀입니다.
<resources xmlns:tools="http://schemas.android.com/tools">
    <!-- Base application theme. -->
    <style name="Theme.MyApplication" parent="Theme.MaterialComponents.DayNight.DarkActionBar">
        <!-- Primary brand color. -->
        <item name="colorPrimary">@color/purple_500</item>
        <item name="colorPrimaryVariant">@color/purple_700</item>
        <item name="colorOnPrimary">@color/white</item>
        <!-- Secondary brand color. -->
        <item name="colorSecondary">@color/teal_200</item>
        <item name="colorSecondaryVariant">@color/teal_700</item>
        <item name="colorOnSecondary">@color/black</item>
        <!-- Status bar color. -->
        <item name="android:statusBarColor" tools:targetApi="l">?attr/colorPrimaryVariant</item>
        <!-- Customize your theme here. -->


        <!--custom font-family 적용-->
        <item name="android:textViewStyle">@style/customTextViewFontStyle</item>
        <item name="android:buttonStyle">@style/customButtonFontStyle</item>


    </style>


    <!-- Custom font 적용 -->
    <style name="customTextViewFontStyle" parent="@android:style/Widget.DeviceDefault.TextView">
        <item name="android:fontFamily">@font/font_res</item>
    </style>

    <style name="customButtonFontStyle" parent="@android:style/Widget.DeviceDefault.Button">
        <item name="android:fontFamily">@font/font_res</item>
    </style>


</resources>
기본적으로 달려있는 것 제외하고도, 전부 다 넣으면 이렇게 되겠습니다.
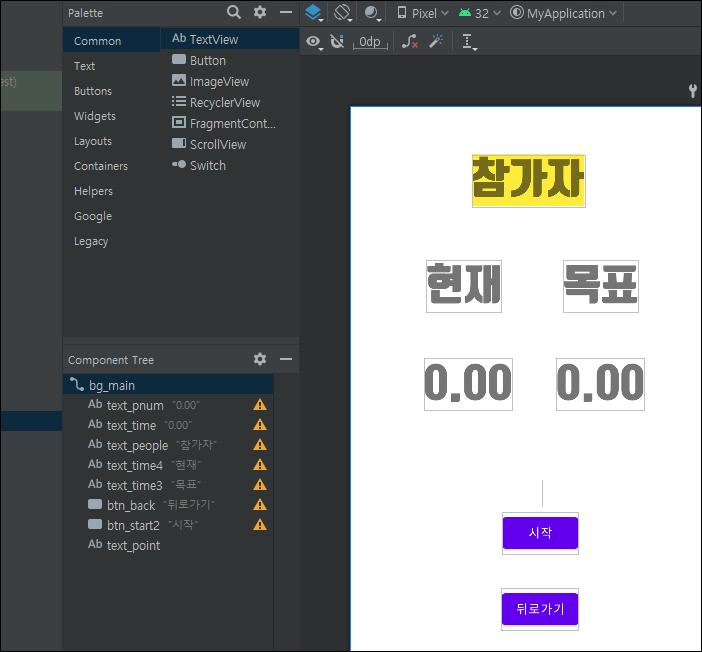
억? 변경되었네요?
성공입니다.
버튼은 ui상에서 바꿔보겠습니다.
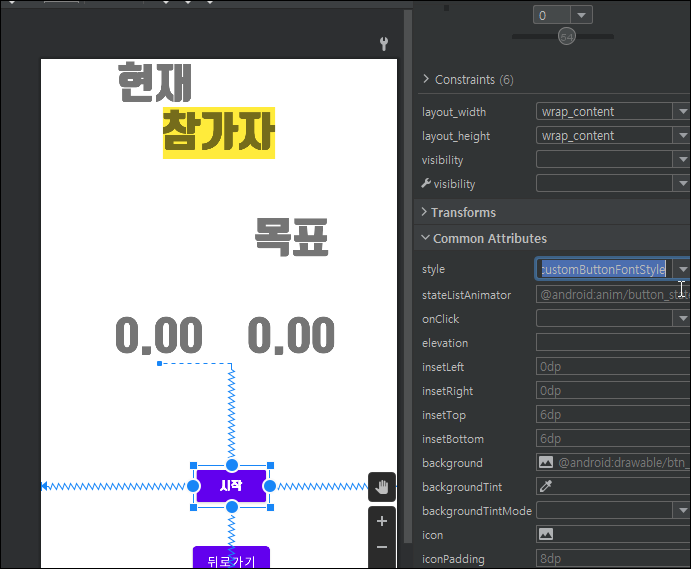
스타일이라고 있죠? 이곳에서 변경하시면 되겠습니다.
그럼 안드로이드 스튜디오 글꼴, 폰트 변경하기 끝!
안드로이드 스튜디오 글꼴, 폰트 변경하기 외 다른 것들도 있습니다.
참가자 수에 따라 어플에 색깔 바꿔넣기 앱#23
참가자 수에 따라 어플에 색깔 바꿔넣기입니다. 어제는 색을 집어넣어 봤습니다. 하지만 저희가 참가자가 1명이 아니잖아요? 1, 2, 3 이런 식으로 변경을 했잖아요? 이 것을 변수를 만들어 보겠습
lucky1004.com
안드로이드 스튜디오 색 변경하기 (버튼, 배경) 앱#22
안드로이드 스튜디오 색 변경하기 (버튼, 배경) 앱#22
오늘은 꾸며보기를 앱#21 이후에 로직을 완성하였으니, 이제는 가벼운 마음으로 꾸미기를 해보려고 합니다. 버튼 색 변경하기, 배경 색 변경하기를 가볍게 이야기하고 넘어가 보려고 합니다. 안
lucky1004.com
안드로이드 스튜디어 스탑워치 로직 완성!!
어제 블라인드 ON, OFF까지 배웠습니다. 그러면 이제 또 어떤 기능을 넣어볼까요? 어떤 기능을 넣어야 좋을까요? 음.. 뒤로 가기를 넣어보면 어떻까요? 참가자를 잘못 선정해서, 원래는 2명이면 될
lucky1004.com
'코딩 어플만들기' 카테고리의 다른 글
| 구글 애드몹 광고 달기! 모바일광고 불러오기까지#1 (0) | 2022.04.11 |
|---|---|
| 안드로이드 스튜디오 상태바, 타이틀바 삭제하기 (0) | 2022.04.10 |
| 참가자 수에 따라 어플에 색깔 바꿔넣기 앱#23 (0) | 2022.04.08 |
| 안드로이드 스튜디오 색 변경하기 (버튼, 배경) 앱#22 (0) | 2022.04.07 |
| 안드로이드 스튜디어 스탑워치 로직 완성!! (0) | 2022.04.06 |


